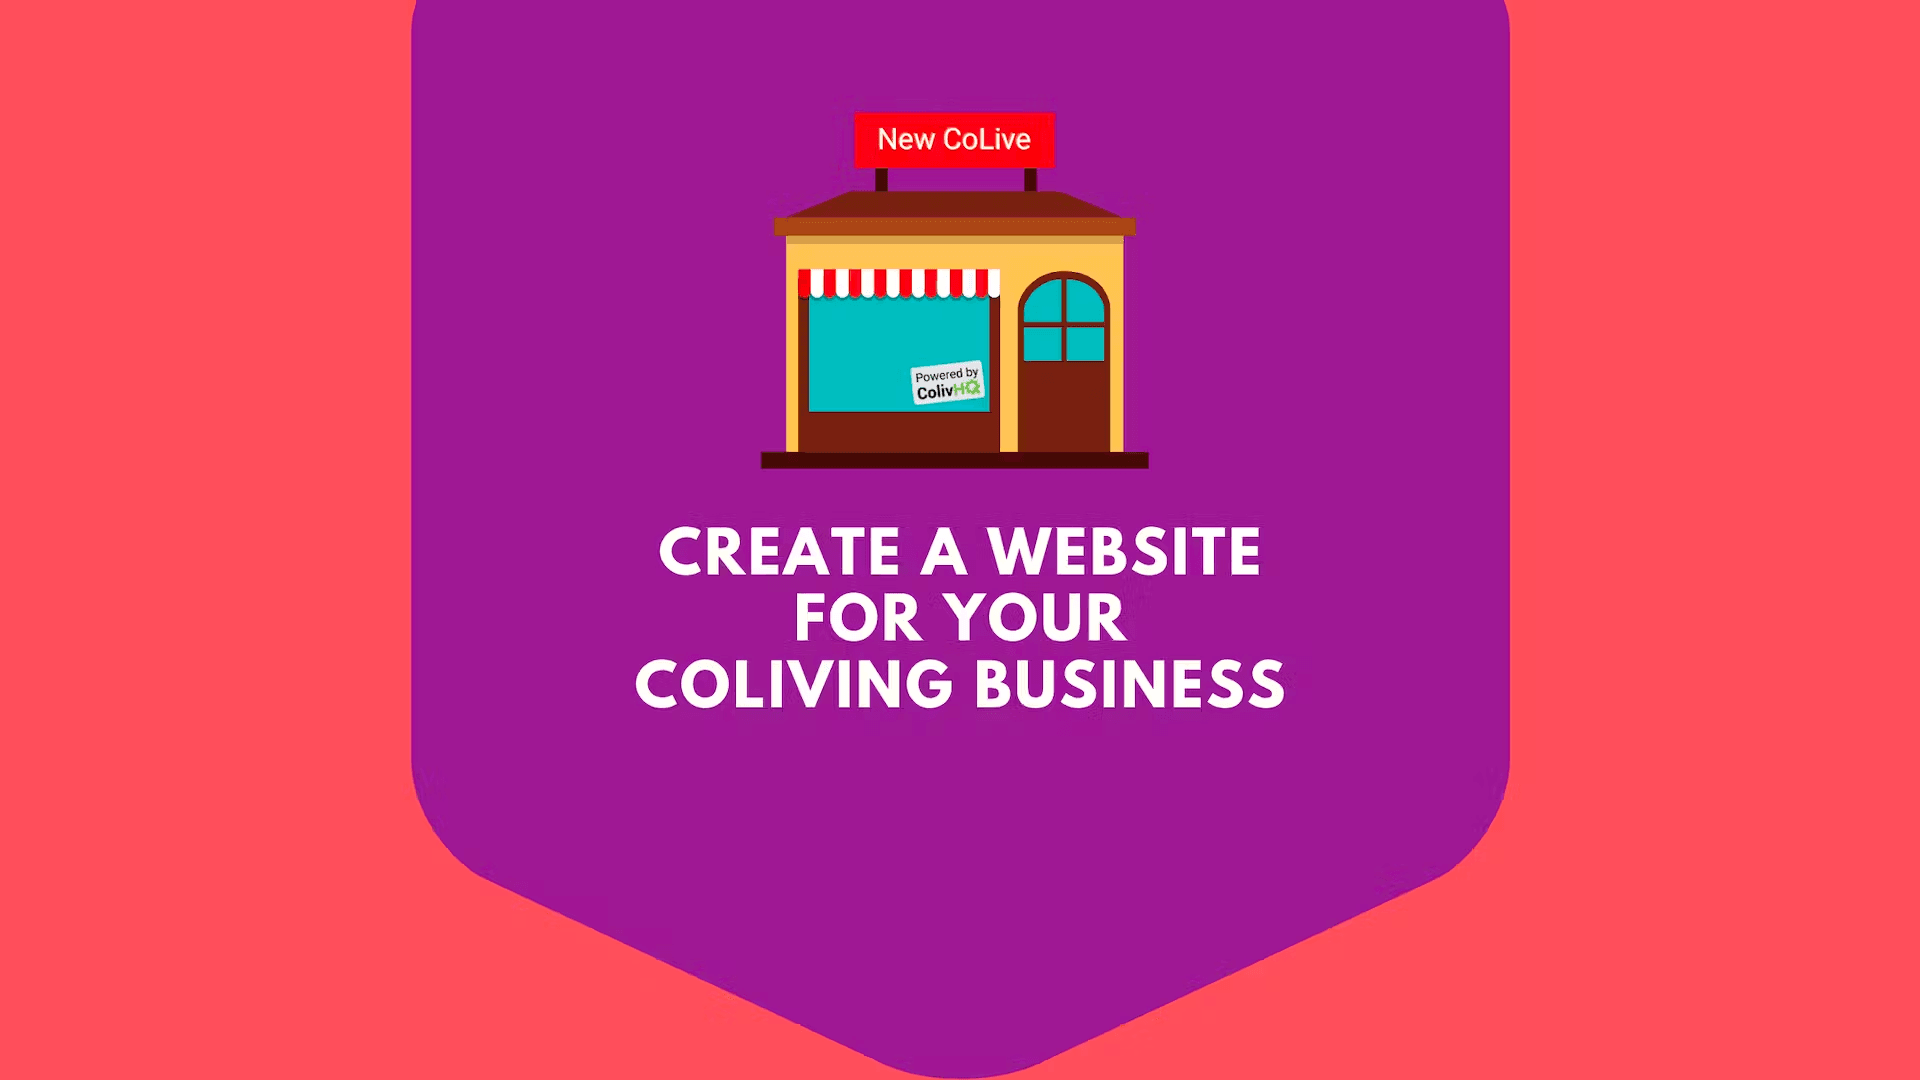
This article explains how to create a website for your coliving business, including a listing of your homes with real time updates to their availability, in less than one hour, using a free Nuxt.js frontend that ColivHQ created for you (here: newcolive.colivhq.com) and a headless CMS (Prismic).
To be able to follow along and deploy your company website, you will need to have (all of these items are free to start (and will only charge you a fee once your volumes are high enough to justify the cost):
- a Prismic.io account
- a ColivHQ account
- A GoogleMaps API key
- a Google Tag Manager container
Finally, you will also need a place to deploy your website. In this article, we show you how to deploy to Google Cloud Platform, but you can choose any other option.
Here are the steps that we will cover in this article:
- **Create the basic data structures in the CMS and add some initial data **(such as your logo, company brand colors, header menu items, footer menu items).
- Add at least one home in ColivHQ (if you are already using ColivHQ you will not need this step).
- Clone the New CoLive git repository on your machine, set up the environment variables that you will need to connect to Prismic, ColivHQ, GoogleMaps, and the Google Tag Manager container, and test the website on your machine.
- Once everything looks good, deploy your frontend to Google Cloud Platform.
We will go through each of these steps in detail next. If you have any questions, the Wiki in the GitHub repository may have the answers you need. Otherwise, you can reach out to us at hello@colivhq.com.
Step 1 - Create the basic data structures in the CMS and add some initial data
Prismic.io is an awesome headless CMS. By attaching it to your website, you will be able to customize your website on your own easily and without having to go to a developer everytime you need to make changes.
Create an account and get the API endpoint to connect to your website
You can logon to https://prismic.io/ to create an account (there is a basic plan for free and other options to suit all your CMS needs). Once you have the account, you will need to:
- Create a new repository, with your company name and the main language which you would like to use
- Go to the settings at the bottom of the left side menu bar, and select API & Security to see the API endpoint
- Copy the API endpoint, as you will need it later on
Create the data structures

It’s time to create the data structures to store your CMS data. Make sure that you copy the names of the custom types accurately, as those are the references that the frontend is looking for. You can start with the Homepage of the website:
- Click on Custom Types on the left side menu bar
- Click on Single, and enter Homepage as name
- Go to the JSON editor on the right side of the page and paste the code from the homepage.json in the GitHub repository
- Save and click the left arrow on the top left of the page to go back to Custom Types
You will need to take the same three steps a few more times, to create a few other types, staring with the Header bar:
- Click on Create New, Single Type, and enter Menu as type name
- Go to the JSON editor on the right and paste the code from the menu.json in the GitHub repository
- Save and click the left arrow on the top left of the page to go back to Custom Types
Then, the footer:
- Click on Create New, Single Type, and enter Footer as type name
- Go to the JSON editor on the right and paste the code from the footer.json in the GitHub repository
- Save and click the left arrow on the top left of the page to go back to Custom Types
Then, a typical content page:
- Click on Create New, Repeatable Type, and enter Page as type name
- Go to the JSON editor on the right and paste the code from the page.json in the GitHub repository
- Save and click the left arrow on the top left of the page to go back to Custom Types
Then, the standard page for your home listing:
- Click on Create New, Single Type, and enter Homes as type name
- Go to the JSON editor on the right and paste the code from the homes.json in the GitHub repository
- Save and click the left arrow on the top left of the page to go back to Custom Types
And finally, a blog post (you can skip this if you do not plan to host a Blog on your website):
- Click on Create New, Repeatable Type, and enter Blogpage as type name
- Go to the JSON editor on the right and paste the code from the blogpage.json in the GitHub repository
- Save and click the left arrow on the top left of the page to go back to Custom Types
Now your CMS is ready to host your data.
Add the initial data
Once the data structure is ready, now you need some data to be able to show content on your website. This time we will leave the homepage for last, since it will need to link to the other pages.
Let’s start from a page with a list of your homes (looking like this https://newcolive.colivhq.com/page/findahome or https://newcolive.colivhq.com/page/singapore):
- Click on Documents on the top left of the left navigation bar
- Click in Create New, select Page.
- Name the page with findahome.
- Based on your branding, pick a color for the “Divider and button color” field. This will set the color schema for the page.
- Go down to the slices and click on the + sign to add a new one (you can add as many of these components as you want, to customize your page). Make sure that you add the Listing component. If you would like to have a map on the listing page, toggle on the Map option.
- You should also have the CTA component at the bottom of your page.
- Go to the Social Cards and fill in all the information (to make sure that your page will be SEO friendly).
- When done, click and save and publish (two times).

Now that you have a page to list your homes, let’s add a page to show the details about each of your homes:
- Click in Create New, select Homes.
- You can decide whether you want to have a slider for your home pictures and for your room pictures and also turn on/off various sections on this page (the 3D virtual tour, a map, basic info about the housemates, the list of similar homes, etc…)
- You also have the option to add more text or additional info to the bottom of this page.
- When done, click and save and publish (two times).
Next let’s add a page with your about info and contact info:
- Click in Create New, select Page.
- Name the page with about.
- Add a hero image, a title, and as many components as you would like.
- Go to the Social Cards and fill in all the information (to make sure that your page will be SEO friendly).
- When done, click and save and publish (two times).
If you want to have a blog, let’s add a home with all your blog articles:
- Click in Create New, select Page.
- Name the page (with something like “Our blog” or “The New CoLive diary”).
- Add a hero image, a title and a description.
- Then in the components pick the Blog Cards component, add a Title and select how many cards to display max on the page (for example 30).
- Go to the Social Cards and fill in all the information (to make sure that your page will be SEO friendly).
- When done, click and save and publish (two times).
Time for a homepage
Now that you have most pages ready, it’s time to bring everything together with a homepage, header and footer. Here are the steps for this, starting with the homepage:
- Click on Create New, select Homepage.
- Add a hero image (you want something at least 1920 pixel wide ...if you do not have any great picture of your coliving place yet, start with something that you can find on Pixabay), and a title.
- Then click on the text component and enter a short description for your business.
- Then you can pick any of the other components you may want to add to customize your home page.
- Go to the Social Cards and fill in all the information (to make sure that your page will be SEO friendly).
- When done, click and save and publish (two times).

To add a header:
- Click in Create New, select Menu.
- Upload a logo, and click on the logo link field, then select Link to a document, and find and select the “Homepage”.
- Pick a color for your header and a transparency setting (0% means the header is solid).
- Pick a color for the text on the header.
- Then in the menu link add a label “Find a home” and click on select a link, select Link to a document, find and select the page called “findahome”.
- Then in the “Border link label” enter “GET IN TOUCH” and click on “Border link”, select Link to a document, find and select the page called “About us”.
- Save and Publish, then go back to the Documents
And finally, let’s add a footer:
- Click in Create New, select Footer.
- Add a logo and in the Logo Link select Link to a document and point to the homepage.
- Add any info you would like in the “Copyright”, like “All rights reserved”, and address and then choose colors for your footer, the text on the footer, and the bar at the very bottom of the footer.
- Click on “Menu” list to add a new column of footer items.
- In the header add “COMPANY” and you can leave the Header link field blank
- In the repeatable zone, in the first item enter “About us” and select to point to the page called “About us”
- Click on + to add a second item
- Enter “Blog” and in the link find the page called “Blog”
- Save and Publish, then go back to the Documents
And with this last step, the website content is ready. Time to add some inventory to display on the website.
Step 2 - Add at least one home in ColivHQ
ColivHQ will host the information about your inventory and availability, among other things. Log on to https://dash.colivhq.com/ and click Log in or Register. to get started. There are two steps, first of all we need to generate and API token to connect ColivHQ and your website, second we will add some inventory in ColivHQ.
Generate the API token to connect to ColivHQ
Once in ColivHQ, take these steps to generate a token to connect ColivHQ to your frontend:
- Click on the down arrow next to your name, in the left navigation bar, click on MY COMPANY.
- Once on your company profile, click on the Settings tab and scroll down to API Access.
- Click on the + button to generate a new token. Enter a name, such as “Website” and click add.
- Once the token is created, click on the eye icon next to it to open the pop-up with the actual token and copy this.
- Note this key down, as you will need this in the next step.

If you are already using ColivHQ as your system and have already some inventory in there you do not need to do anything else here (you can jump to Step 3).
Add homes and rooms in ColivHQ
Here are the steps to add one home and one room in your ColivHQ account (and for a more detailed explanation of these steps, you can check these articles here):
- First all, while in the Settings, go to the Billing tab and scroll down to BIlling settings. Click on the edit pencil and pick one (or more) currencies that you would like to use for your prices.
- Then click on Homes in the left navigation menu.
- Click on the + button on the top right to add a new home.
- Enter all the details about your new home, and add at least one picture.
- Once done SAVE and click on DETAILS to go into your home details page.
- Scroll down to Rooms and click on the + button next to it to add a new room to the home. Enter all the room details, and remember to add at least one picture. When done click SAVE. You can repeat this step multiple times to add multiple rooms.
- Once done, on the very top of the home details page, toggle on the Publish switch. The home is now officially part of your inventory.

For more information about using the home inventory component of ColivHQ, you can check these articles here: Getting Started with Homes
Now that you have some inventory in ColivHQ, it’s time to create your website frontend.
Step 3 - Clone the git repository on your machine and set it up
Clone the git repository on your machine and set up the environment variables that you will need to connect to Prismic, ColivHQ, GoogleMaps, and a Google Tag Manager container.
Using Google Tag Manager, you will be able to add tags from Google Analytics, Facebook, Twitter, LinkedIn and any other third party services you want to add, without ever having to touch your code again. If you do not have a Google Tag Manager account, set up one (for free) here: https://marketingplatform.google.com/about/tag-manager/
You will also need to have a Google Maps API key, to be able to connect your frontend to Google Maps and display the location of your homes. Here are the steps needed to get a key: https://developers.google.com/maps/documentation/javascript/get-api-key
Get your website ready on your local machine
Once ready with all of the items needed, here ate a few simple steps to get your website ready on your local machine:
- Start by cloning this project here: https://github.com/Colivhq/NewCoLive (download it from the website, use GitHub Desktop, or fetch it via command line, as you prefer).
- Browse to the /static/ folder and replace the favicon.ico file with a favicon file of your choice (here is a simple tool to generate one for your business: https://favicon.io/).
- Add a .ENV file in the root directory with the following entries (making sure to replace the entries here with the Prismic endpoint from Step 1, the ColivHQ token from Step 2, the Google Tag Manager repository ID and Google Map API key from the last paragraph, your coliving operator name last (including the quotation marks), and replace your BASE_URL with your own website url, such as (https://newcolive.colivhq.com):
PRISMIC_ENDPOINT=[REPLACE ME] COLIV_HQ_KEY=[REPLACE ME] GTM_KEY=GTM-[REPLACE ME] GOOGLE_MAP_KEY=[REPLACE ME] COMPANY_NAME="[REPLACE ME]" BASE_URL=[REPLACE ME]
Your website is almost ready, time to test it locally. Make sure that you have Node.js installed on your machine. If not, install it first (Node.js downloads). Then, in the folder of the project, open a terminal and do the following:npm install npm run dev
Open http://localhost:3000/ and you will see the local version of your project. You can add content in the CMS and customize your website as much as you would like. After customizing the website as much as you would like, it’s time to get your website out there and visible to the whole world! Ready for the final step?
Step 4 - Deploy your frontend
For this article, we are going to deploy the website to Goolge App Engine (the repository already comes with a app.yaml, so you should be able to just build a deploy), but if you prefer or are already using another cloud platform, like AWS or Azure, you can find here more about the steps needed to deploy a Nuxt.js web application: https://nuxtjs.org/faq).

For Google Cloud, here are the steps to take:
- Go to Google App Engine log in (or create a new account if you need to), create a new project for your website, and click on Get started.
- From there, choose Node.js and Standard environment. If you need to, click on download the cloud SDK when suggested (you will need to do this, unless you already have it installed on your machine). Note down your project ID.
- If you want to set your website domain now, you can click on Settings and add a custom domain from here. You will get a few DNS records to update in your domain registrar.
- Now it’s time to build and deploy. Open a terminal window on your machine and go to the folder where your website project is saved. To create the build and, finally, to deploy, type and execute (replacing in the project ID you wrote down before from Google App Engine):
npm run build gcloud app deploy app.yaml --project [project-id]
If you have already updated your DNS records, you should be able to see your website at the address you have added on Google Cloud (and if not, you can go to the url in the terminal window). Your website is up and running!
Additional steps
Now that you have a website up and running for your coliving business, here are some ideas on how to take this further:
- You can add more content to it in the CMS. Add more pages, using the Page custom type (remember to link the pages in the header and/or footer, as appropriate).
- You can add one or more blog article(s), by adding a new page using the Blog custom type.
- You can add more inventory in ColivHQ (remember to publish it).
- You can adjust your settings of how to show your homes, from the Homes page in the CMS.
- You can create pages specific to one of your locations, such as the Singapore and Tokyo pages in New CoLive. These are simply instances of findahome where there is a cityId to filter the results.
- If you are technically savvy, you can customize the CSS files in your own website project to create a version of the website that reflects your branding even more closely than the template does.
If you have any questions, the Wiki in the GitHub repository may have the answers you need. Otherwise, you can reach out to us at hello@colivhq.com.